Description

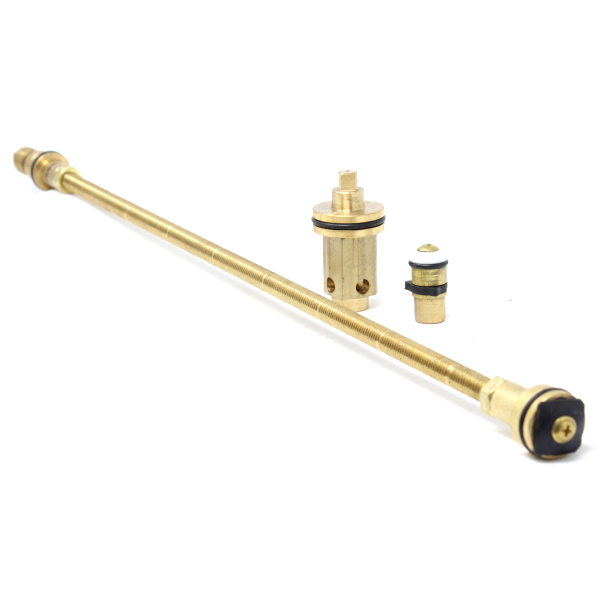
MIFAB MHY-CIA-18-A Complete Internal Assembly Hydrant Repair Kit.
Repairs All:
- HY-1000 Series
- HY-2000 Series
- MHY-10 Series
- MHY-15 Series
- MHY-16 Series
- MHY-20 Series
- MHY-25 Series
- MHY-26 Series
Kit Includes:
- (x2) Plunger Assemblies
- (x2) Work Stem Assemblies
- (x2) Lock Nuts
- (x1) Head Seal Nut
- (x1) Tube Thread Locker
- (x1) Tube Lubricant
Installation Instructions:
-
Removal:
- Shut off water supply to hydrant and relieve water pressure. Remove hydrant stem assembly. (Do not disassemble. The old stem must remain assembled for reference dimensions.) Remove the old head nut seal.
- Note: The plunger tips provided in this kit will replace all old versions of plunger tips. See inset.
-
Measurement:
- Fully thread the appropriate worm stem assembly on to the 4-1/4" uninterrupted threaded end of the fully threaded rod. Lay the old stem assembly next to the new stem, aligning the o rings on the worm stem assemblies.
- Mark the groove in the threaded rod that is closest to the end of the old plunger tip, but not past the plunger end.
- Using the appropriate holding fixture and a 32TPI hack saw, cut the threaded rod to the appropriate length.
- Note: The undercut grooves in the threaded rod will guide the hack saw blade without the need for thread end "clean up" after cutting. See inset.
-
Assembly and Adjustment:
- Remove the worm stem assembly from the cut rod and thread the two lock nuts onto the rod approximately 1" inward from each end.
- Apply thread locker to the two ends of the threaded rod (approx. 3/8" coverage) and a small amount to the internal threads of the plunger and worm assemblies.
- Thread the worm stem assembly until seated fully and then thread the plunger assembly to match the length of the old hydrant stem assembly. (Remove excess thread locker.)
- Note: Align the o rings of the two stems side by side and adjust the plunger tips to match.
- Once the proper length has been attained, advance the lock nuts toward the two end assemblies and tighten with a 9/16" wrench.
- Generously apply lubricant to the plunger tip seals, o ring, and worm stem screw threads.
-
Installation:
- Install the new head nut seal into the body of the hydrant. Thread the worm screw fully into the head nut using a hydrant key.
- Thread the head nut and stem assembly into the hydrant body and tighten.
- Shut off the hydrant and open the water supply.
- Test the hydrant for proper function.
Technical Downloads:
- MIFAB MHY-CIA-18-A: Installation Instructions
Estimate shipping
Payment & Security
Your payment information is processed securely. We do not store credit card details nor have access to your credit card information.


